This post will include a tutorial for making tiled images by using Photoshop in addition to some of my own tiled images that are free to use. But first, I’ll give some background why this tutorial ended up in the positive blog. 😃
When I was a kid 👦🏼, I made games using a code-free tool called Clickteam Fusion. What games require is, of course, graphics and one way of getting them is by taking photos. 📸 Photos don’t usually make good game characters, but you can use them as background or texture for 3D objects. In such a use, you don’t usually want to use an entire picture but only a part of it, like the wooden material of your kitchen floor for instance. Then it would be nice that the same part of the picture could be repeated endlessly so that you could cover the floor of an entire 3D house with the picture of your own floor in such a way that it looks natural, i.e. that it is tiled.
I still hope that I’ve time to make a proper video game 🎮 at some point in the future, but in the mean time, I can go and collect materials! And boy, when I put my material goggles on, I just run around taking pictures of interesting looking materials😅 – they can be walls with an interesting texture, grass, sky, fabric – anything that looks appealing to me and that I think I could potentially need in the future. What I like in this material seeking is that it’s kind of an adventure, you never know what kind of an interesting texture you might stumble upon. 😁
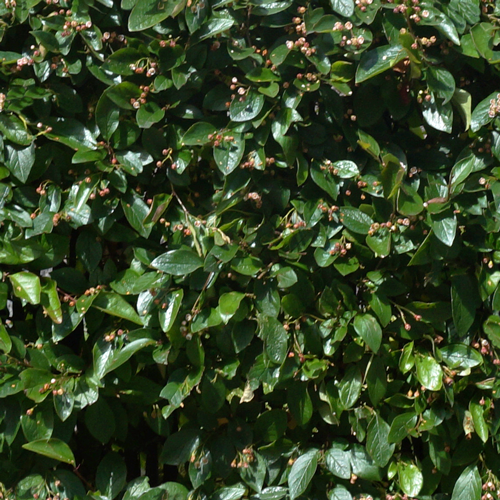
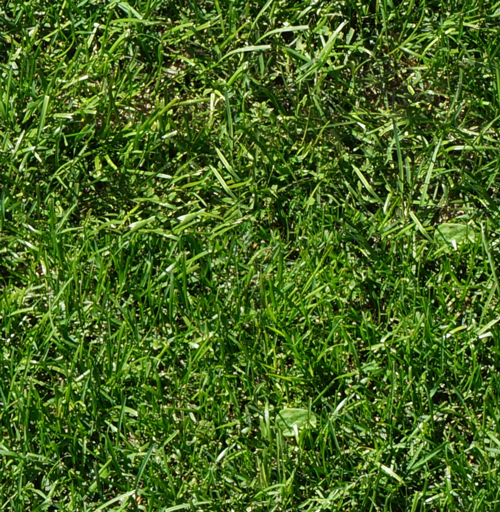
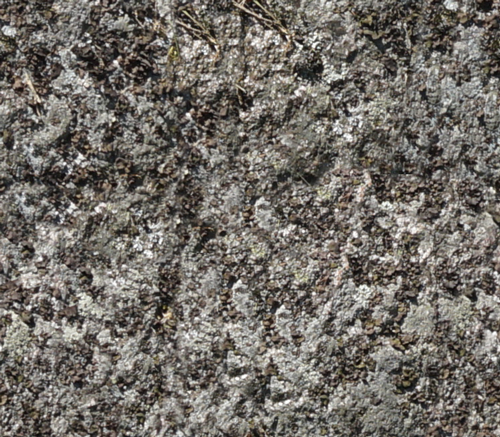
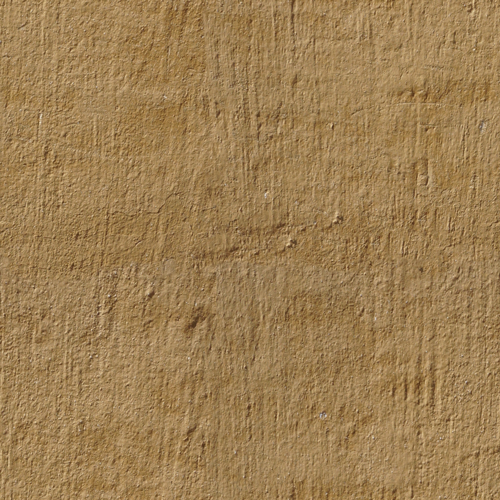
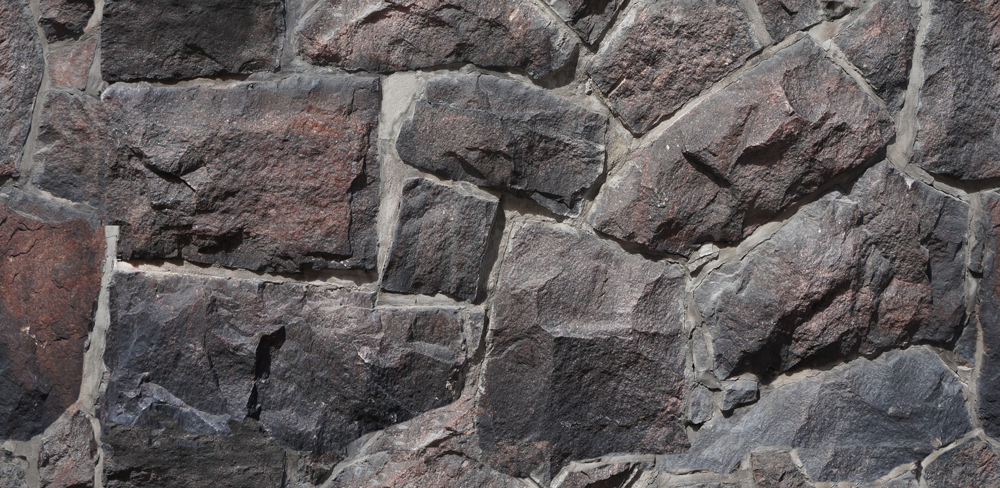
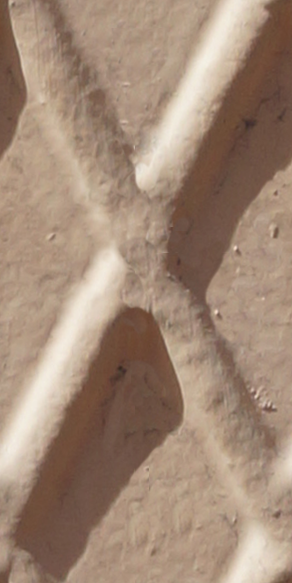
But just by having a lot of pictures with interesting materials is not enough if you never go ahead and edit them so that they can be tiled. Once you have done that you can use them wherever, like I did in a game, Running Rex, I made once. To alleviate your task of tiling your own images, here are some tiles I made. They are released under the CC 0 license, so you can go crazy with them. Hopefully they help you release your creativity! ☺️
Some free tiled pictures


The tutorial
Finally, we have reached the point where the tutorial can begin! So fire up your Photoshop and look for a picture to work on because here we go! 🖼 As a preparatory step, open the picture you want to edit with Photoshop.
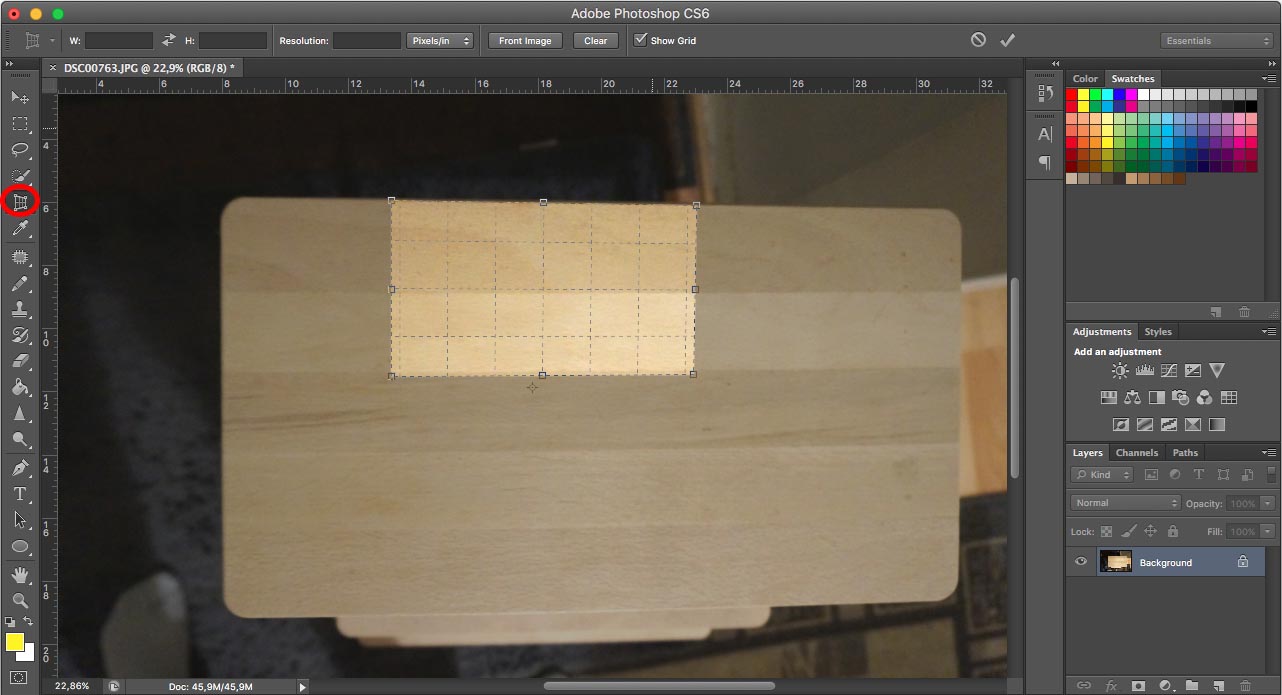
1) Use the perspective crop tool to crop the part of the image you want to tile. The best feature of this tool is that it fixes perspective automatically for you if your picture isn’t taken while directly facing the object. 😯 👏🏻
2) Check the size of the image in pixels. You can see it by clicking the information field at the bottom of the editor. ⬇️ Once you have done that, go to Filter -> Other -> Offset and input half of the width and height of your image as values to the horizontal and vertical input fields. This way the borders of your image will appear in the middle so that it will be easier to spot them. 🙂


3) The next step is to remove the edges you can see in the middle of the image so that your image actually tiles nicely. You can use tools such as the patch tool, healing brush or clone stamp to continue your work from here. You can Photoshop the image as much as you want, but whatever you do, don’t edit the borders of the image, otherwise when you restore the offset, you’ll see new edges in the middle of the image.

Happy Photoshopping!!!! ☺️☺️☺️