I absolutely love my Gigabyte 15 OLED WA. It is one of the few laptops out there that actually has a 4K display… In 2021, I think that 4k is a bare minimum on a laptop because Full HD is just too small to fit anything on the screen. Another thing I like about this laptop is that it has a dedicated RTX GPU, so I can game on it ☺️. Recently, however, the laptop has failed me on one aspect; after the warranty period ended, one of the fans of the laptop started to produce an awful sound, something compressed air wouldn't solve. 😕 Let's get our Gigabyte Aero 15 OLED fan fixed!
Fixing Gigabyte Aero 15 OLED fan
The first and the cheapest way that has been reported to work is to take your Gigabyte Aero 15 OLED fan out of the computer, remove the fan blade and put it back in. That turned out to be easier said than done 😅, so I decided to document my process and write this small tutorial.
For this, you will need:
- A TR6 Torx screwdriver
- A Phillips 0 screwdriver
- A Phillips 000 screwdriver
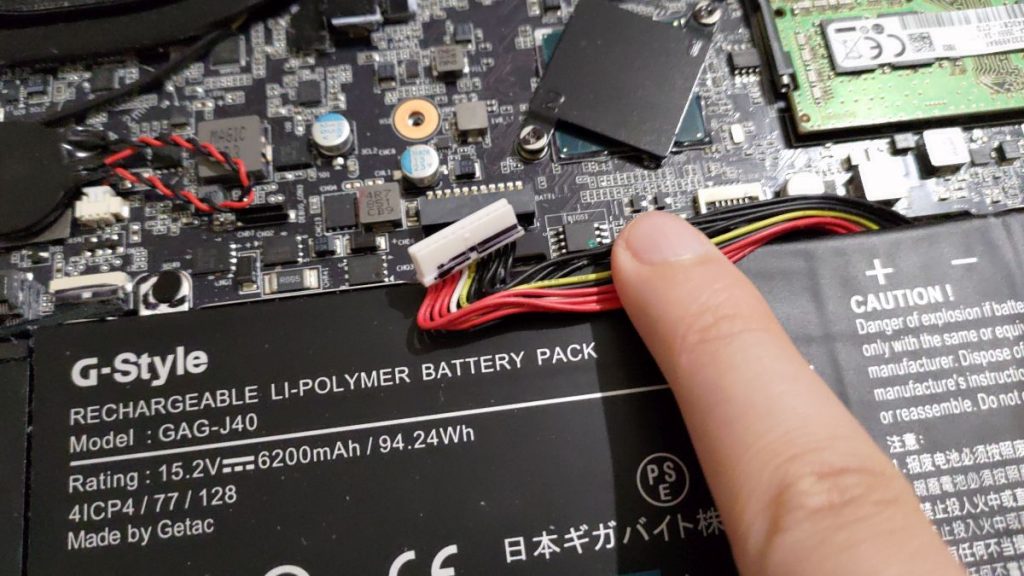
Step one is to remove the cover of your laptop. After this step, disconnect the battery.
The second step is to lift the display cable up. You should be able to do this without disconnecting the cable, but if you want to, the cable can be disconnected by pulling it upwards.
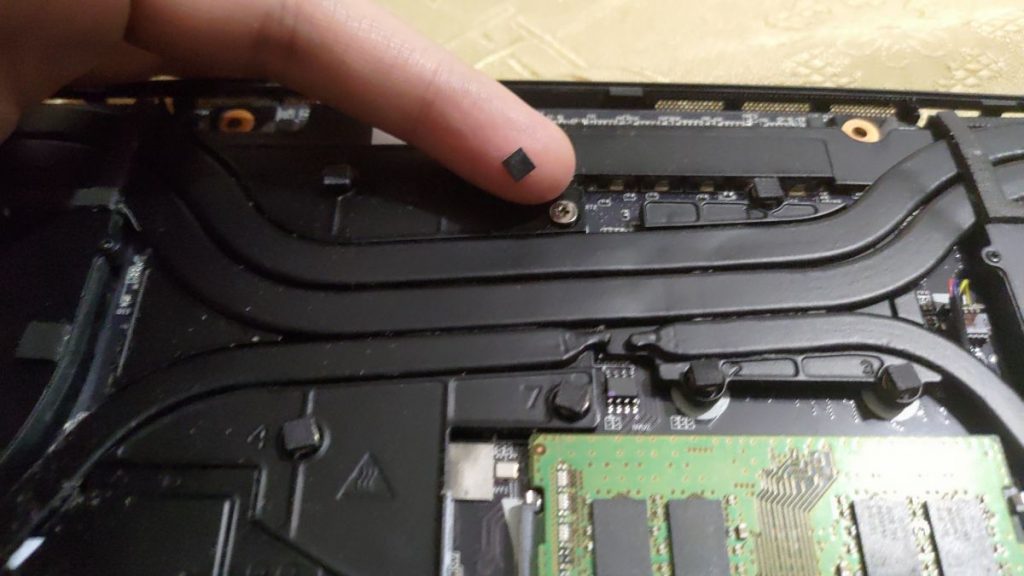
Remove the four screws in each corner of the heatsink. One of these screws is sealed, you can break the seal with your screwdriver.
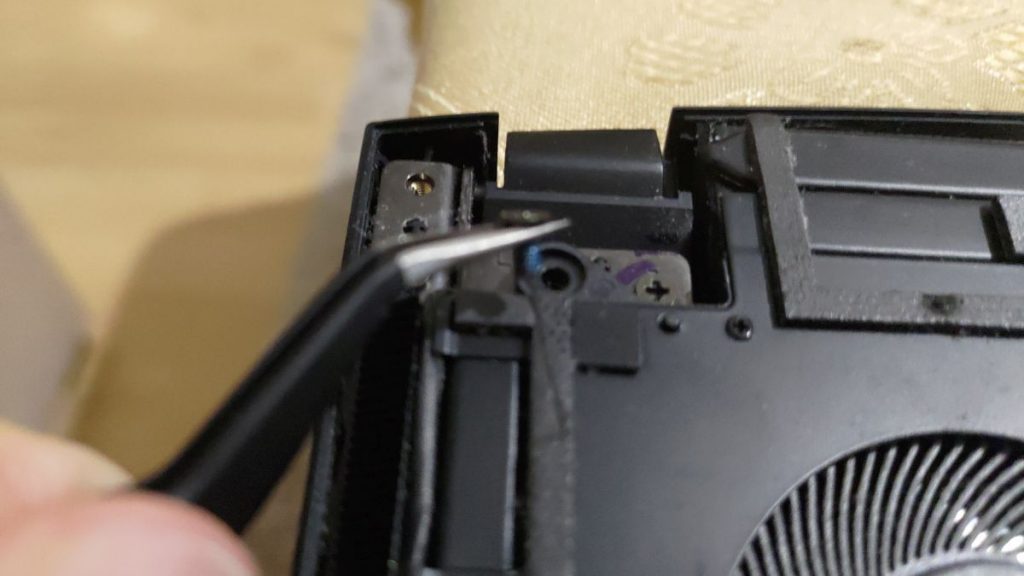
Next, you will need to unscrew the screws in the middle. These are covered with caps, remove the caps and loosen the screws. Note that the screws are not designed to come out fully.
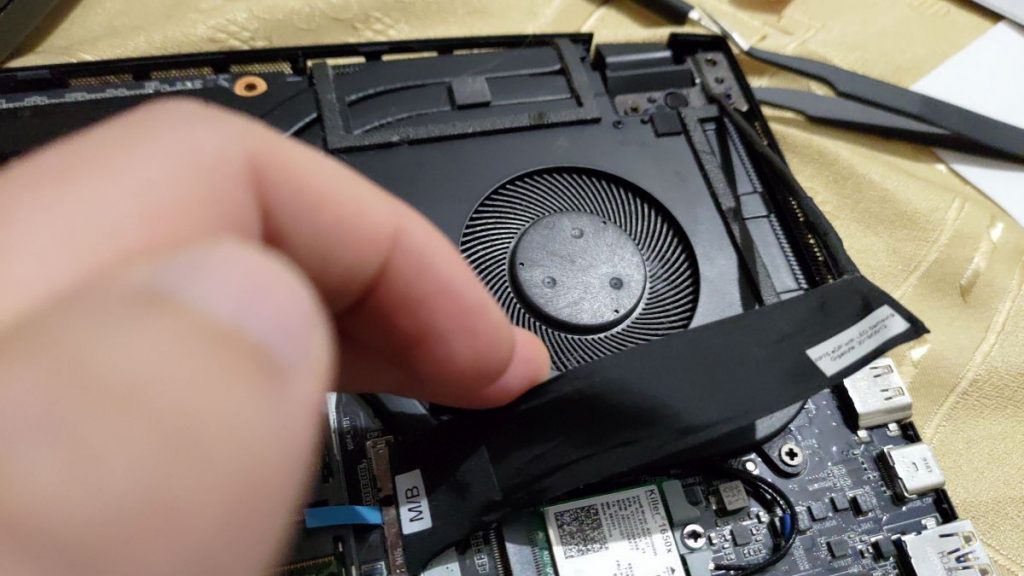
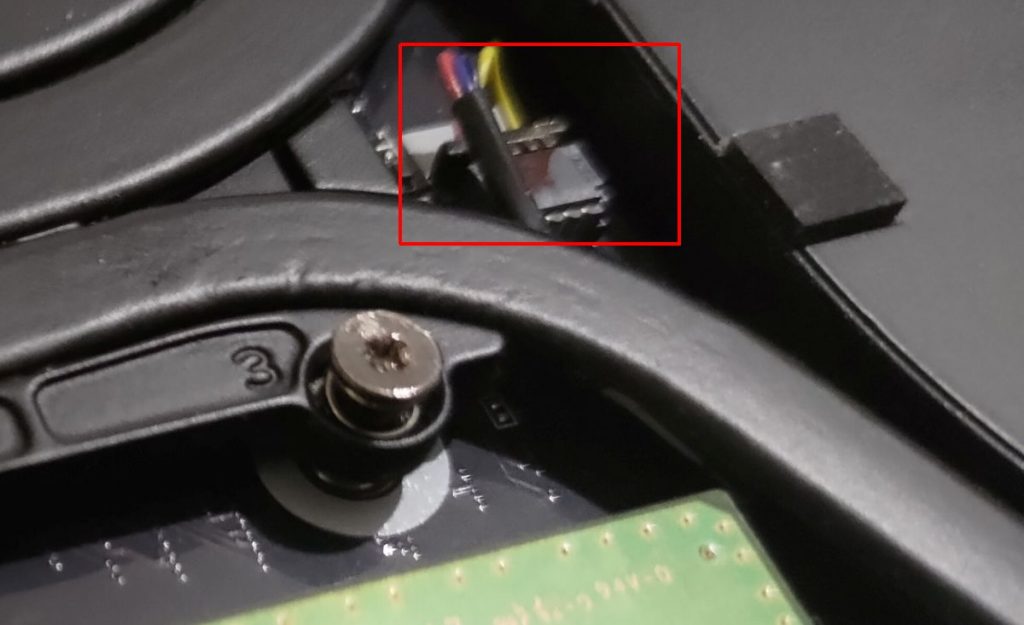
There are still three cables you need to disconnect. There are two cables on the left side and one on the right.
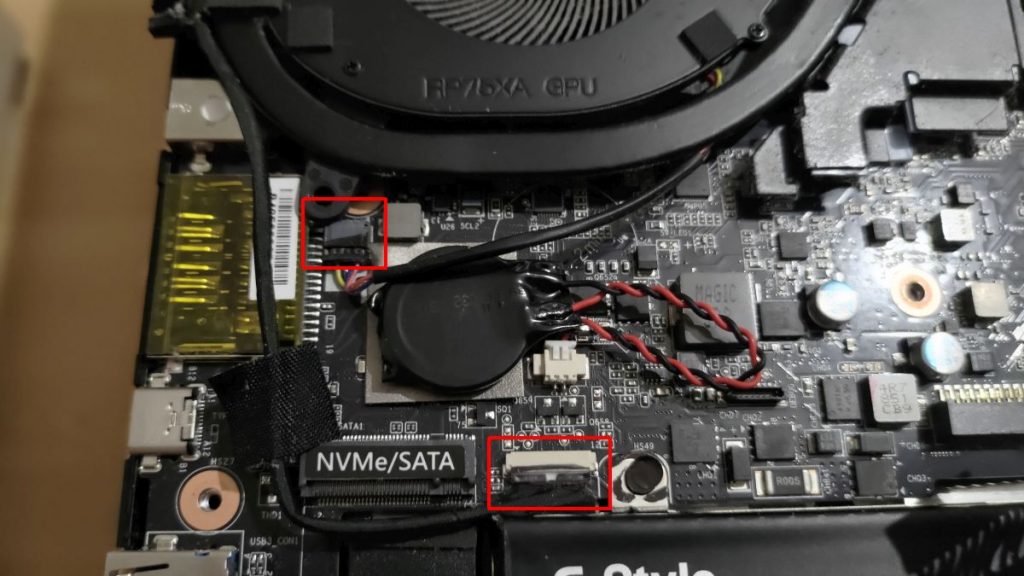
As you are pulling the entire heatsink upwards, you can access the last cable you need to disconnect easier.
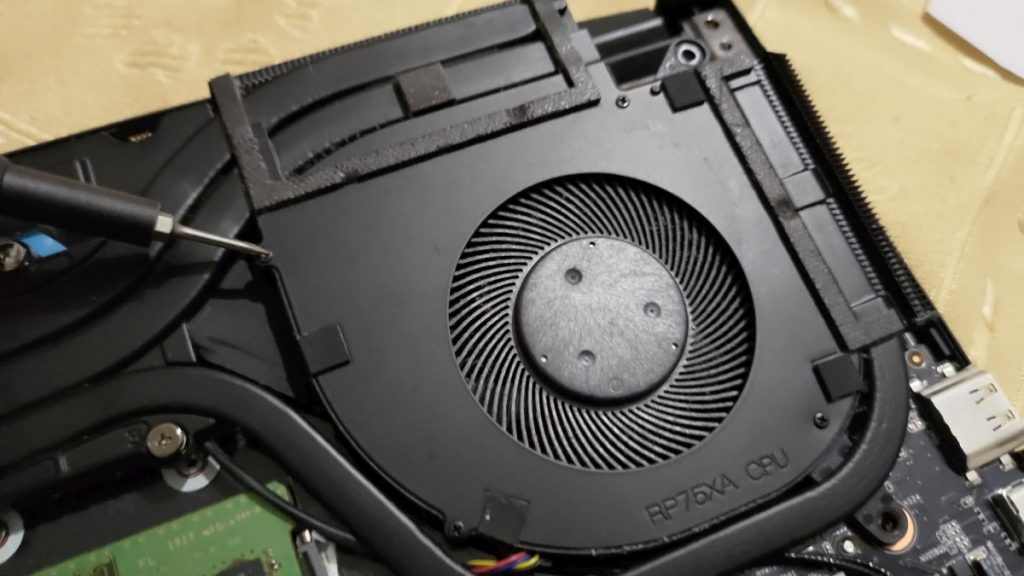
Finally, we can have a free access to our Gigabyte Aero 15 OLED fan. For me, the fan producing the noise is the CPU fan, so I will disassemble it. Remember that now you have your laptop flipped around, so if you heard noise from the left side while using the laptop, the fan is now on your right hand side. ☺️
Proceed to remove the small screws on the fan.
Once the Gigabyte Aero 15 OLED fan is disassembled, you can clean the blades. I washed mine under a water tap and dried it with paper towel.
Once you are done, just backtrack and put all the parts back to their correct places. Remember that you disconnected two cables on the left and one on the right. Check that the display cable is still connected on the right, if not press it back down. After you are all set with connecting everything and tightening the screws, connect the battery and close the back cover. Time to boot your laptop! 😀
Final thoughts
Today we fixed our Gigabyte Aero 15 OLED fan. Wohoo! 🥳 If you still hear a sound, it is time to buy a new fan. You can redo what you just did to replace your old fan with a new one. Just remember to buy the correct fan! The GPU and CPU fans are not identical. Also, do not confuse Gigabyte Aero 15 with the OLED model. Your fans are supposed to be black, not gray. DO NOT order a replacement fan on AliExpress… They will send you a wrong fan and refuse to give you your money back (I learned the hard way that their buyer protection is a joke).